Lab 3-B

log cabin
Click the image to see a before and after.

Log Cabin

Color Correcting

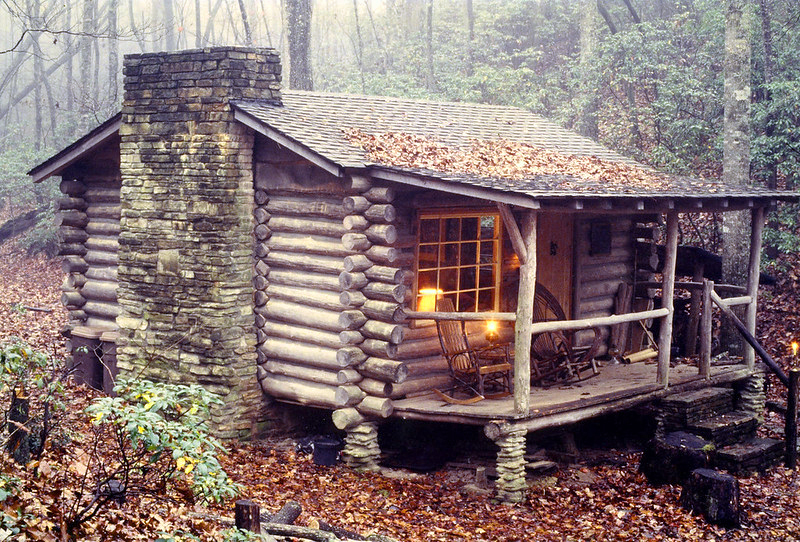
The assignment for this lab was to adjust the color tint of an image.

I chose this image of a log cabin because it had a yellow tint to it and the cabin seemed comfy.

Detailed Steps
  1. Open the original image file.
  2. In the top bar: Image > Image Size
  3. Keep Width/Height locked. Change units to pixels. Change Width to 800 px.
  4. Click the adjustment layer icon on the bottom right.
  5. Click Levels.
  6. Click the white dropper to the left of the graph, then click a bright sky area between the trees on the top of the image.
  7. Lower the opacity to 90%.
  8. Click the adjustment layer icon on the bottom right.
  9. Click Hue/Saturation.
  10. Click the finger slide icon.
  11. Click and hold on a green leaf near the chimney and slide to the right (Saturation: +25).
  12. Click and hold on a yellow flower near the chimney and slide to the right (Saturation: +20).
  13. Click and hold on a brown leaf at the bottom of the image and slide to the right (Saturation: +26).
  14. Click the adjustment layer icon on the bottom right.
  15. Click Brightness/Contrast.
  16. Contrast: -25
  17. Shift+Ctrl+S to Save As a Photoshop file (.psd).
  18. In the top bar: File > Export > Export As
  19. Change the format to JPG. Click Export.

— Gallery —